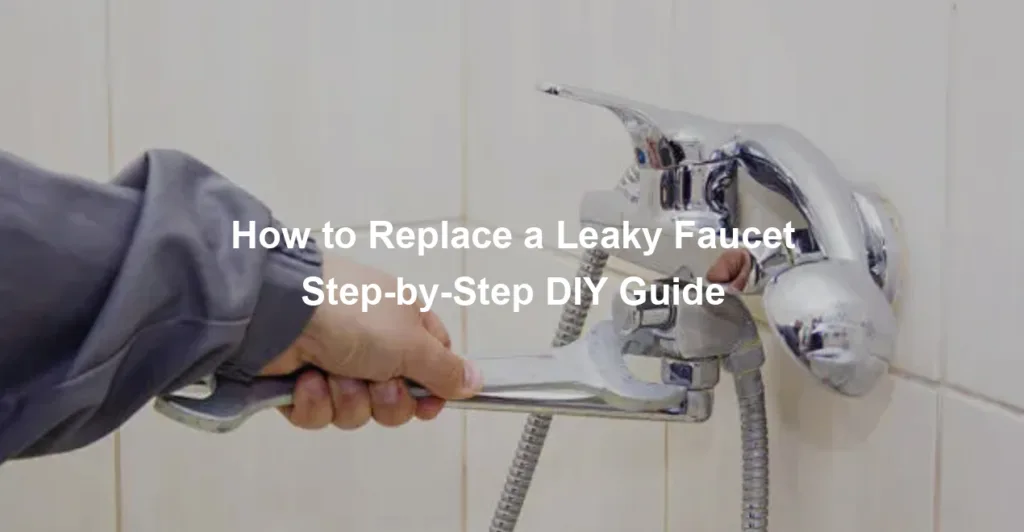
How to Replace a Leaky Faucet: Step-by-Step DIY Guide
Learn how to replace a leaky faucet with our easy step-by-step DIY guide. Save money, stop water waste, and upgrade your kitchen or bathroom with this faucet replacement tutorial.
Is the constant drip of your faucet driving you crazy? That annoying sound isn’t just frustrating — it’s wasting water and money every single day. The good news? You don’t need to call a plumber. In this step-by-step DIY faucet replacement guide, you’ll learn exactly how to remove your old leaky faucet and install a new one in under an hour, even if you’ve never picked up a wrench before.
Why Replace a Leaky Faucet?
Before diving into the steps, it’s worth understanding why replacing a faucet is often better than repairing it:
Water Savings: Even a slow leak can waste over 3,000 gallons of water annually.
Lower Bills: Less wasted water means smaller utility bills.
Updated Style: A new faucet can instantly modernize your kitchen or bathroom.
- Improved Functionality: Newer models often include features like pull-down sprayers or water-saving aerators.
Tools and Materials You’ll Need
Before you begin, gather the following tools and supplies:
Adjustable wrench
Basin wrench (for tight spaces)
Plumber’s tape (Teflon tape)
Bucket or towel (to catch water)
New faucet (compatible with your sink’s hole configuration)
Safety gloves
Cleaning supplies (sponge, mild detergent)
Step 1: Turn Off the Water Supply
The first and most crucial step is shutting off the water supply to your faucet.
Locate the shut-off valves under the sink.
Turn both the hot and cold valves clockwise to close them.
If there are no local shut-off valves, turn off the main water supply to the house.
Open the faucet to drain any remaining water.
💡 Pro Tip: Place a bucket or towel under the sink to catch any drips.
Step 2: Disconnect the Water Supply Lines
Once the water is off:
Use an adjustable wrench to loosen and disconnect the supply lines from the faucet.
Keep your bucket or towel in place to catch residual water.
If your supply lines are old or damaged, consider replacing them.
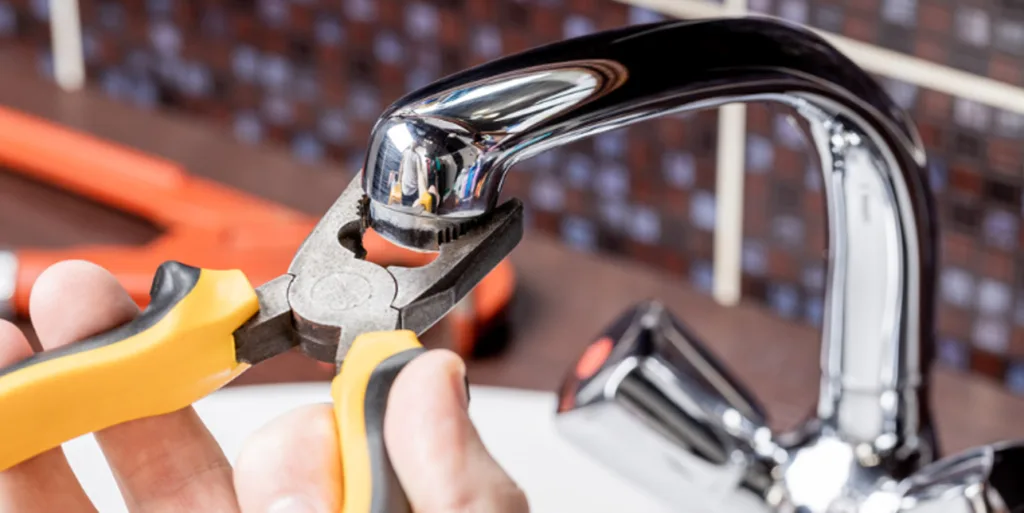
Step 3: Remove the Old Faucet
Now it’s time to get rid of the leaky culprit.
- Look under the sink for the mounting nuts holding the faucet in place.
Use a basin wrench to loosen and remove these nuts.
Gently lift the old faucet out from the top of the sink.
Clean the area with a sponge to remove any dirt, mineral deposits, or old plumber’s putty.
Step 4: Prepare the New Faucet
Before installing:
Check your new faucet’s instructions — different brands may have unique steps.
If required, wrap plumber’s tape around the threads of the faucet’s connections to ensure a watertight seal.
Insert the faucet through the sink holes, making sure it’s properly aligned.
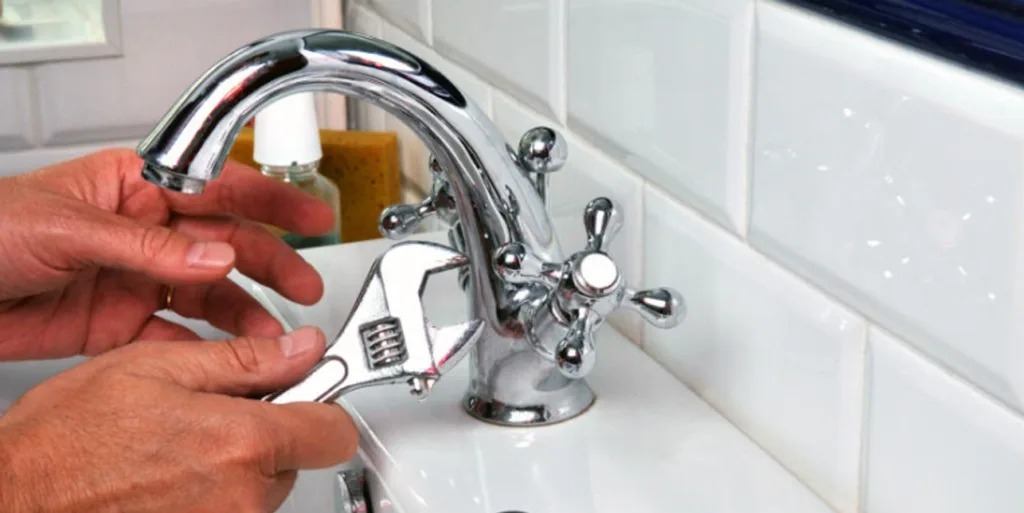
Step 5: Secure the Faucet
From underneath the sink:
- Thread the mounting nuts onto the faucet’s tailpieces.
Tighten them with a basin wrench, being careful not to overtighten (to avoid damaging your sink).
If your faucet includes a deck plate (escutcheon), ensure it sits evenly on the sink surface.

Step 6: Connect the Water Supply Lines
Attach the hot and cold water supply lines to the corresponding faucet inlets.
Tighten with an adjustable wrench, but do not overtighten — this could strip the threads.
Double-check that hot connects to hot and cold connects to cold.
Step 7: Turn On the Water & Test
Slowly open the shut-off valves.
Check for leaks around all connections.
If you see drips, turn off the water and tighten the connections slightly.
Run the water for a minute to flush out debris
Step 8: Enjoy Your Leak-Free Faucet
Once you’ve confirmed there are no leaks, your installation is complete! Enjoy the satisfaction of saving money on plumbing services and reducing water waste.
Common Mistakes to Avoid
Forgetting to turn off the water (flood risk!)
Overtightening fittings (can cause cracks)
Not checking compatibility of the faucet with your sink’s mounting holes
Skipping plumber’s tape on threaded connections
When to Call a Professional
While replacing a faucet is usually a simple DIY project, you may need a plumber if:
The shut-off valves are stuck or leaking
You discover corroded or damaged pipes
The faucet requires complex installation (e.g., wall-mounted types)
Final Thoughts
Replacing a leaky faucet isn’t just about fixing a drip — it’s an opportunity to upgrade your home’s style and function. With the right tools and this step-by-step guide, you can tackle the job confidently.
Whether you’re looking for a sleek kitchen faucet with a pull-down sprayer or a classic bathroom tap, modern options offer durability, efficiency, and style.
FAQ
Most faucet replacements take between 30 minutes and 1 hour, depending on your experience and whether your old faucet is difficult to remove.
You’ll need an adjustable wrench, basin wrench, plumber’s tape, and basic cleaning supplies. Most homeowners already have these in their toolbox.
Check your sink’s hole configuration (single-hole, 3-hole, or 4-hole). Make sure your new faucet matches this layout or includes a deck plate to cover extra holes.
If your supply lines are more than 5 years old or show signs of wear, it’s a good idea to replace them during faucet installation to prevent leaks later.
Yes, if your sink has shut-off valves underneath. If not, you’ll need to turn off the main water supply to your home.