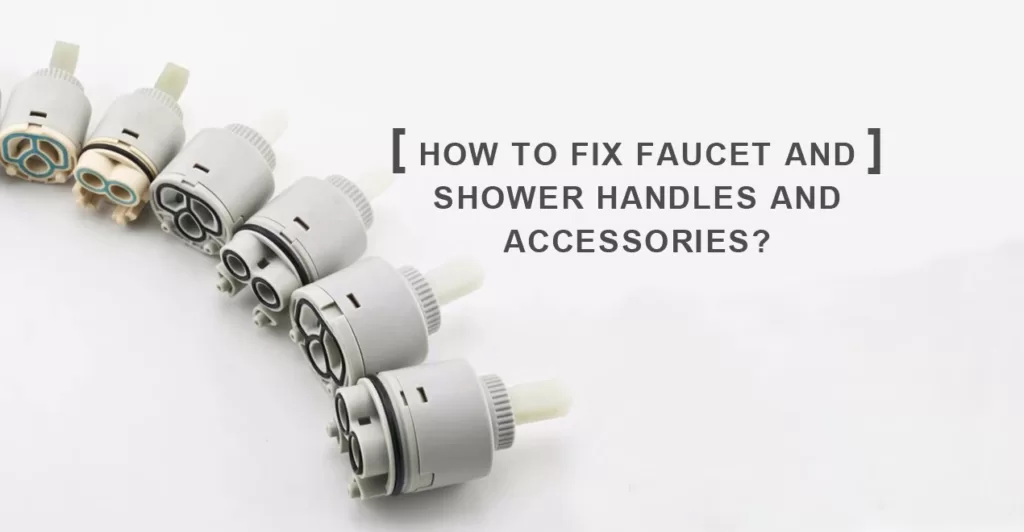
Tips to Replace a Faucet Ceramic Cartridge
With cartridges designed to last 10 to 15 years, it becomes annoying when you’re faced with a water-dripping faucet handle, difficulty adjusting the water temperature, or even hot water finding its way into cold outlets. Fortunately, most of these faucet woes can easily be fixed by replacing the O ring and cartridges of the faucet. The best part about it is that you can do it yourself without the services of a professional plumber.
This handy step-by-step guide should enable you to have an easy plumbing fix replacing a leaky faucet handle. The project takes less than an hour to complete. Before we delve into the nitty gritty steps, let’s look at what causes cartridge failure.
What Causes Cartridge Failures?
If you don’t use it, you lose it; this famous saying applies to most faucet woes. Generally, you’ll have a leaky faucet when the rubber of the O ring is worn out and dried out since it’s not in use. Conversely, when the cartridges are blocked, you may also experience a leaky faucet.
You’ll know your cartridge is blocked when you notice that the shower is not allowing hot water to flow. There are, however, many controllers that determine water flow and temperatures. Knowing your faucet’s type of controller will help you troubleshoot the problem quickly.
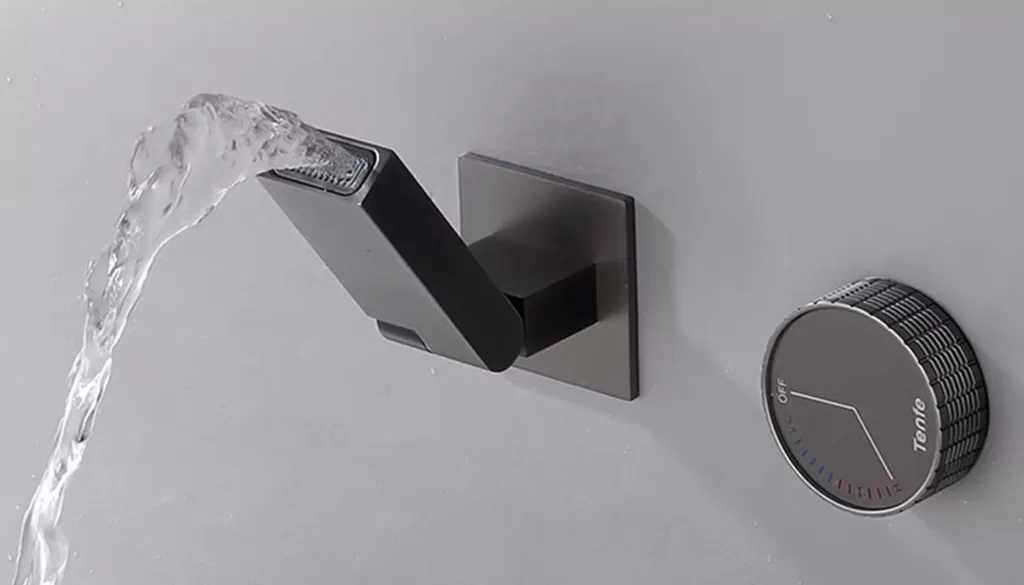
There are three types of faucets: ceramic disc faucets, rotary ball faucets, and cartridge faucets, which have a decorative cap. The cartridge faucet is a common type with an O ring that controls hot and cold water flow and temperature. On the other hand, ceramic disc faucets use a ceramic disk to control flow and temperature, while rotary ball faucets use a rotating hollow ball.
You must decipher the problem from the onset to avoid calling a professional plumber after getting stuck in the process. With that said, let’s look at ways to replace and fix a leaky faucet handle.
Before the Project Commences-Determine the Type of Sink Faucet You Have
First, you’ll need to identify your type of faucet- a single or a two-handle cartridge faucet. An easy way to determine your faucet type is by paying attention to how it feels when shutting off the water supply. When you push down the handle, and in turn, it makes the flow of water tickle or shut off, then you might have a compression faucet. The process for such taps is quite different since they don’t have a cartridge.
A one-handle faucet may have a cartridge, disc, or rotary ball. Conversely, a two-handle faucet will have a compression or cartridge. Determining the type you have will ensure you pick the right replacement cartridge processes for the project.
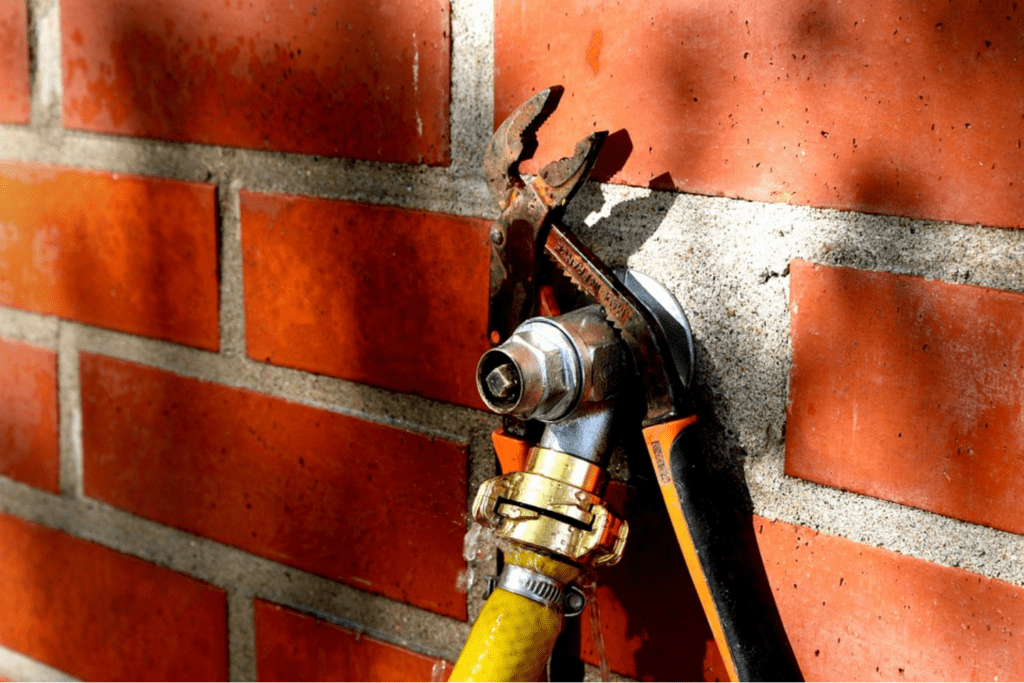
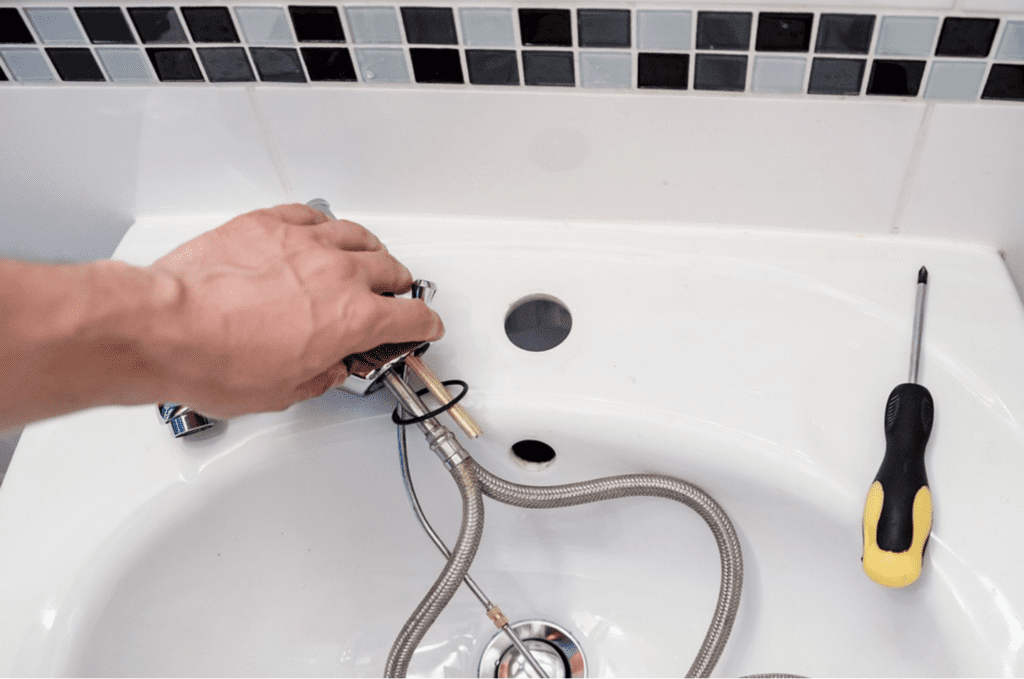
Shut Off your Valve or the Water Supply Lines
It’s important to turn off the shut off valve regardless of your faucet model. Look at the bottom of your sink to locate the shut off valves in the water supply line that limit water from flowing. Most water supply valves have a football shape-like lever or handle that enables rotation when shutting off the water supply. Additionally, you must ensure that all shut off valves for both sides are turned off for those with two water supply lines for the cold side and hot side. You’ll rotate the valve handle clockwise until it stops turning to shut it off.
If you have a lever instead of a knob, you’ll need to rotate the valve until it’s perpendicular to the tubing or water pipes to be in the same direction as the water flow. In instances where you don’t have shutoff valves, you’ll need to switch off the main water supply at the shutoff valves. After limiting water to flow on the faucet, you’re about to repair, open it to release pressure and water trapped on there.
Now, you’re good to go!
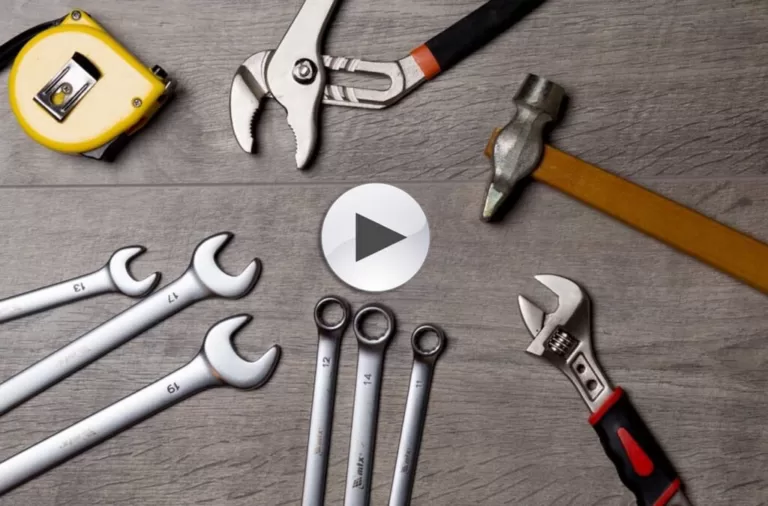
Tools and Equipment Required to Fix a Leaky Faucet
Most tools and equipment needed to fix a leaky faucet are easily found in your nearest hardware store in a leaky faucet repair kit. They include the following;
- Flat-head screwdriver/ Phillips screwdriver
- Hex wrench
- Small screwdriver
- Adjustable needle nose pliers or cartridge puller
- Towels
- Allen wrench
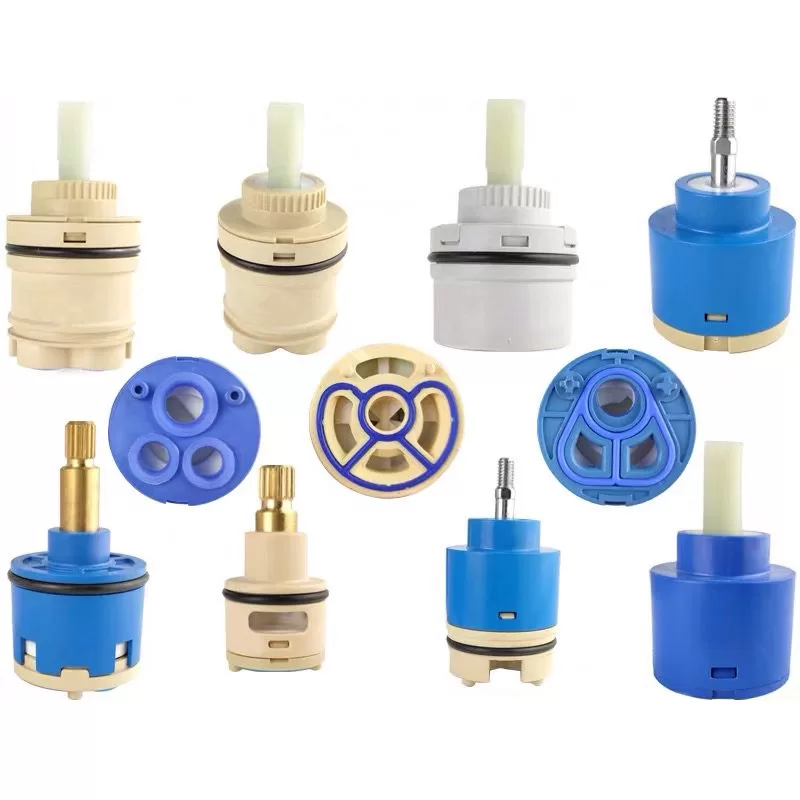
- Replacement cartridges
- New O rings
- Professional plumber’s grease (optional)
Easy Ways to Fix Leaky Faucets
It’s now time to get your hand dirty after gathering all the tools for the job. Here’s a step-by-step guide that’ll help you fix a leaky faucet. The steps above show how you’ll navigate replacing the cartridge for different types of faucets.
Replacing a Ceramic Cartridge in a 2 Handle Faucet
Most bathroom faucets have two handles. The process for removing and replacing the worn-out old O ring or cartridges in a two-handle faucet is quite different from that of single-handle faucets. Let’s run down these steps.
Step 1. Cover the Drains
It’s important to cover the drains irrespective of where you’re undertaking the cartridge replacement. Clog it with a towel or cover it with tape. This is an important step in the process since it’ll help you evade the risk of dropping something into the drain. It’s a simple step that has a huge payoff in the end.
Step 2. Remove the Faucet Handle
First things first, determine the type of handle or aerator you have. There are some that have a set screw on the rear or side of the handle, while others have a decorative cap that conceals the screws that fasten the handle. Moreover, some handles have removable levers, making it easier to unscrew the screw handle. It’s, therefore, crucial to determine which one you have before you proceed.
If the aerator is stuck, sock a towel in white vinegar and wrap it all over the faucet handle to remove and loosen mineral deposits. After an hour or so, slowly turn the aerator using a towel and pliers. In a scenario where the handle has a decorative cap, you’ll pry the cap with a flathead screwdriver. Afterward, using Phillips screwdrivers, remove the handle screw. If the handle has a set screw, remove them using an Allen wrench. Pull the handle from the faucet body.
Step 3. Loosen the Retaining Clip
You’ll need to remove the retainer nut from the faucet body. Start by loosening the retaining nut with tongue and groove pliers and unscrew it. Remember, some faucet spout comes with a brass screw, which holds the cartridge shaft to the faucet body. Remove by turning the brass screw counterclockwise, and keep it safe to use with the new cartridge since most cartridges don’t come with a new replacement screw.
Step 4. Get Rid of the Old Cartridge
After removing all the screws, it’ll expose the cartridge. Some faucets have a handle adapter concealing the cartridge; therefore, you must remove it using a Phillips screwdriver to get to the cartridge. The centerpiece screw holds the adapter; to remove it turn the screw counterclockwise.
It’s crucial to study the orientation of the old cartridge to help you reassemble the new cartridge exceptionally. You can lay the parts as you remove them, then take a picture for reference. Now, most cartridges have one or two tabs that fit nicely into notches of the faucet body. You’ll need to hold the shaft of the old cartridge with pliers, then gently remove it.
Inspect the old cartridge faucet; if it’s smooth and the passage inside isn’t clogged, replacing the worn-out O ring with a new O ring will be sufficient. While replacing the O rings, apply a small amount of oil or grease to the new O ring, then roll them over into their grooves.
Step 5. Install New Cartridge
If the cartridge is damaged or corroded, it will need replacement. Bring the old cartridge to the home center or hardware store to make sure you find the exact replacement parts for your faucet’s model. They mostly consist of new rubber O rings for the cartridge, plus plumber’s grease for the O rings, which makes the installation easy.
With replacement parts at hand, pull the cartridge stem all the way out. Come with your new cartridge and insert it by pressing it against the cartridge rim. Don’t be surprised when you notice water appearing there; it’s normal to happen when the new cartridge is inserted. Ensure you rotate the cartridge to align with notches that permit retainer nut installation.
Press the cartridge into the tap, and replace the clip underneath it. Ensure you also align the tabs with the faucet body, pushing the cartridge to its housing.
If you have a ceramic disk faucet, then it’s probably controlled by a ceramic cylinder. In cases of leaks in a disc faucet body, you’ll need to acquire new seals and other replacement parts to revert it to its functionality. Follow the above steps to access the ceramic disk cartridge and replace the old seals with new ones. Reassemble the remaining components following the original orientation.
They have a different internal mechanism separate from cartridge faucets. First off, loosen the screws to take down the handle. Using a wrench, remove the cap. If you have a leaky sprout, then you must remove the washer, ball faucet, and cam. When done, use a small screwdriver to remove the seats and springs. Get some new springs, O rings, plus new cartridges to replace damaged parts. A nice O rings repair kit found at the hardware has all the necessary parts.
While removing the cartridge, you turn the stem such that the notches at the upper-end face away from the sink or bathtub floor. Insert the new cartridge, then reinstall the faucet handles, and decorative caps to finish off the repair process.
Turn the lever to face the opposite direction. It’s then advisable to install new O rings to the tap and reinstall its sprout and retainer nut. While reinstalling the lever back on the faucet’s body, ensure it’s facing down towards the sink. Fit in the back of the handle ring at the top of the retainer nut and into the surrounding grooves.
Press the housing downward, so it touches the stem’s upper side. Afterward, reinstall the cover, cap, and handle.
Step 6. Fasten the Remaining Parts
After securing the new cartridge, you must finish the installation by fastening the screw on the faucet handles. Ensure you secure the cartridge with a retainer nut, tightening it in place with a wrench or pliers. It’s prudent that you don’t overtighten the nut.
Afterward, you can reinstall the set screw, faucet handle adapter, or decorative cap. It’s only then that you’ll turn on the shutoff valve for your main water lines. Turn the faucet on to determine if it’s operating efficiently. If the faucet is still leaking, then there could be a problem with the valve seat.
The valve seat can become corroded and produce leaks near the faucet sprout over time if it’s not cleaned and maintained properly. Other underlying problems may be worn-out seals, broken plumbing, or loose parts. If the problem at hand directs you to any of the above areas, then you’ll need to call a professional plumber to come and assist you.
You can watch the following video to know how to fix leaky faucets and how to replace a Faucet Ceramic Cartridge.
Take Away!
If you love to save money or are a full-blown DIYer, then replacing your ceramic cartridge to fix a leaky faucet is a worthwhile project. Following the above handy dandy guide will put you in the best position to attain an exceptional result. Be sure to have a professional plumber on speed dial in case you get stuck in the process.
VISIT US AT InFaucets
